

Your shopping cart is empty!
 Call us: +1-(437)-290-7537
Avaya IP Phone Setup and Configuration Guide
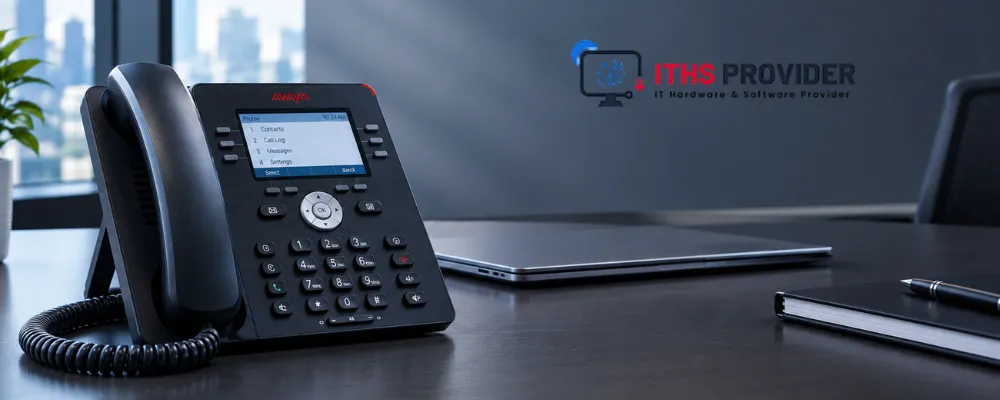
Getting a new batch of desk phones delivered is the easy part. Getting every one of them provisioned, registered, and working the way your office expects is where most of the frustration happens. At ITHS Provider, we get asked about Avaya phone setup almost as often as we get asked which model to buy, so we put together the full process for a US office. If you are still choosing hardware, our Avaya IP phones and conference phones category is a good place to compare current models before you start.
This guide covers the first cable plug in, automatic provisioning, the differences between IP Office and Aura, network planning, security and E911 checks, and a quick section for the people who will actually use the phones every day.
Table of Contents
Before You Start: What You Need for Avaya Phone Setup
A clean setup depends on having a few things ready before you touch the phone. Skipping this step is usually why a ten minute job turns into an hour.
- Power: A PoE enabled network port or a separate power adapter, since Avaya sells the adapter for J Series phones separately.
- Account details: Your extension number, password, and provisioning server address from your Avaya IP Office or Avaya Aura administrator.
- Firmware check: Confirm the phone's firmware is supported by your call platform, since outdated firmware can stop a phone from registering even when every other setting is correct.
Step by Step Avaya IP Phone Installation and Configuration
Step 1: Connect the Phone to Your Network
Setting up an Avaya phone starts with power and a network cable. Plug the phone into a PoE port using a standard Ethernet cable. If your switch does not supply power over the line, you will need Avaya's AC adapter instead. Once powered, the phone boots and tries to reach your network's DHCP server on its own, so no input is needed from you yet.
Step 2: Let Automatic Provisioning Run
In most US enterprise deployments, Avaya phones pull their configuration automatically once they see the network. The phone asks the DHCP server for site specific information, and DHCP Option 242 tells it where the file server holding its settings and firmware lives. This works the same way whether you are configuring one phone or rolling out three hundred across several offices.
Before a bulk rollout, confirm Option 242 is actually configured on the DHCP scope your phones will use. A missing or incorrect value is one of the most common reasons a whole batch of phones fails to provision at once. Avaya's J100 Series installation and administration guide covers the provisioning paths in detail, including the DHCP options the phones request.
Step 3: Log In With Your Extension
If the phone does not provision automatically, or you are setting it up manually for a smaller deployment, it will prompt you for the extension number and password your administrator provided. This is also where you can enter the provisioning server address by hand if automatic discovery fails.
Step 4: Configure Basic Settings
Once registered, open the phone's settings menu and confirm the display language, time zone, and ringtone match what your office needs. This is also the point to set up speed dials and call forwarding rules, plus any button module assignments for phones like the J179 or J189 that support expansion modules. If you plan to attach several modules, check the model's power requirements first, since PoE alone may not be enough and a separate adapter may be needed.
Step 5: Test Call Quality and Features
Before handing the phone to an employee, place a test call and confirm transfer, hold, and conference all work. Test on the actual network segment the phone will live on, not a bench setup elsewhere in the building, since a configuration that works on a test port can behave differently behind another switch or VLAN.
| Step | Action | What to Check |
|---|---|---|
| 1 | Connect to network | PoE power or adapter present |
| 2 | Automatic provisioning | DHCP Option 242 reaches the file server |
| 3 | Extension login | Correct extension and password entered |
| 4 | Basic settings | Time zone, language, speed dials set |
| 5 | Test call | Transfer, hold, and conference confirmed |
Avaya Phone Configuration for IP Office vs Avaya Aura
Avaya phone configuration looks different depending on which platform your office runs. The phone side is similar, but the administration behind it is not.
Avaya IP Office
IP Office is common in small and mid sized deployments. It is normally administered through IP Office Manager or IP Office Web Manager, where an administrator creates the user and extension, and the phone then registers against that extension. In smaller sites, IP Office can also act as the DHCP and file server for Avaya phones, which keeps the setup simple.
Capacity depends on the hardware and edition. Avaya's documentation lists up to 384 users on a single IP500 V2 control unit, while IP Office Server Edition supports up to 3,000 users across up to 150 sites. Avaya's IP Office Server Edition documentation has the current figures for each edition.
Avaya Aura
Avaya Aura is built for larger enterprises and relies more on centralized administration. Users and their feature settings are managed in one place through System Manager, so an admin does not need to touch each phone individually. For teams managing many locations, this central control is one of the main reasons they choose Aura over a smaller platform.
PoE and VLAN Planning Before a Rollout
Phone problems that look like configuration faults are often network problems in disguise. Before a large rollout, review your network switches for three things.
First, the PoE budget. A switch that cannot power every phone at once will cause phones to reboot or fail to start, especially when a whole floor powers up together after an outage. Second, VLAN separation. Putting voice traffic on its own VLAN keeps it away from file transfers and backups. Third, QoS. Marking voice traffic as high priority is what keeps calls clear when the network gets busy. These decisions usually matter more to long term call quality than any setting on the phone itself.
Common Avaya Phone Setup Issues and How to Fix Them
Most setup problems come down to a handful of repeat issues, and knowing them ahead of time saves a lot of back and forth with support.
- Phone stuck on boot or failing to register: Check for a firmware mismatch, then confirm the DHCP Option 242 value is present and points at the right file server.
- No dial tone after registration: Confirm the extension actually registered, then look at the dial plan, outbound trunk settings, and whether a firewall is blocking SIP traffic. Your admin can also check the extension's profile for settings that restrict outbound calls.
- Choppy audio or dropouts: Start with QoS, VLAN configuration, and network congestion, since these are the usual causes. Check the switch port and PoE power budget too, but treat power as a less likely cause.
Security Settings Every US Office Should Configure
Setup is the right time to lock down settings that get overlooked once phones are in daily use. Confirm TLS and SRTP are enabled so call signaling and audio are encrypted rather than left on open defaults. Also change any default admin passwords on the phones' web interface.
For any US office, this is also the stage to confirm E911 location data is mapped correctly for each extension. Dispatchable location reporting for multi line phone systems is a federal requirement, and the FCC's multi-line telephone system 911 requirements page explains what Kari's Law and RAY BAUM'S Act expect from systems like yours.
Review your firewall setup at the same time. VoIP traffic needs specific rules, and features like SIP ALG or overly aggressive packet inspection can cause one way audio, dropped calls, or failed registrations.
How to Use an Avaya Phone: Quick User Tips
Once the phone is working, your team will want to know how to use an Avaya phone day to day. These steps follow Avaya's J100 Series guide for IP Office. Button and softkey labels vary by model (the J129 differs) and by how your system is set up, so check your model's manual for specifics.
Transfer a Call
Press Transfer, which puts the current call on hold, then dial the destination. Press Complete to finish the transfer, even while the other phone is still ringing. If the person does not want the call, press Cancel. Note that IP Office blocks transfers to external numbers unless your administrator has enabled them.
Put a Call on Hold
Press Hold, or press the call's line button. Press the same button again to take the call off hold.
Start a Conference Call
During a call, press Conference, which puts the current call on hold. Dial the next person, then press Conference again to join everyone together.
Check Voicemail
Press the Messages button. Enter your voicemail password if asked, then press Done. The screen shows how many new, old, and saved messages you have.
Find the Avaya Phone User Guide or Manual
Avaya publishes an official Avaya phone user guide for each model, and the Avaya phone manual covers everything from basic call handling to button programming. Your administrator's documentation should also note any office-specific features that differ from the standard Avaya phone system manual.
Frequently Asked Questions
Final Thoughts
Setup is not the exciting part of a phone rollout, but it decides whether your office has a smooth first month or a flood of support tickets in week two. Getting provisioning, network settings, security, and E911 right up front saves your IT team repeat work later, especially across a larger US office with several locations.

Leave a Reply
Your email address cannot be published. Required fields are marked*


Information
Customer Service
My Account
©2026 ITHS Provider (A Project of Mehta Corp.) - All Rights Reserved.

No comments